
In the world of photography, mastering studio lighting is akin to an artist perfecting their brush strokes. It’s a skill that transforms the mundane into the magnificent, elevating the subject’s features and setting the mood of the entire composition. Whether you’re a budding photographer or a seasoned professional, understanding the nuances of studio lighting is crucial for capturing stunning images.
Studio Lighting Photography
The Importance of Proper Lighting
 The cornerstone of studio lighting photography lies in the precise art of manipulating light to complement the subject. Proper lighting does not merely eliminate unwanted shadows but also highlights the features that deserve attention, thereby enhancing the overall aesthetic appeal of the photograph. It allows photographers to control the ambiance and mood, transforming an ordinary shot into an extraordinary masterpiece. Delicate balancing of light and shadow can reveal textures, emphasize colors, and add depth and dimension to the composition. In essence, mastering the art of proper lighting equips photographers with the ability to dictate the visual narrative of their work, making it an indispensable skill in studio lighting photography.
Types of Studio Lights
Studio lighting in photography is diverse, each type serving a unique purpose and offering different benefits. Key lights, the primary light source, illuminate the subject directly and are pivotal in setting the scene’s tone. Fill lights, used to soften shadows created by key lights, ensure that details aren’t lost in the dark. Backlights separate the subject from the background, giving the image depth and dimension, while accent lights highlight specific attributes or create a dramatic effect.
-
Continuous Lights: These provide a constant source of illumination, making them ideal for beginners to visualize the final image before capturing it. However, they might generate heat and require a well-ventilated space.
-
Flash or Strobe Lights: Offering intense bursts of light, they are preferred for freezing motion and achieving high levels of brightness without the heat of continuous lights. They require more expertise to balance with ambient light.
-
LED Panels: Recognized for their energy efficiency and cool operation, LED panels offer adjustable color temperatures and brightness levels, making them versatile for various shooting conditions.
-
Softboxes and Umbrellas: Though not light sources themselves, these modifiers soften and diffuse light, reducing harsh shadows and creating a more flattering light on the subject.
For photographers seeking a professional environment to experiment with lighting setups, Nashville Boudoir Studio offers a well-equipped space designed to enhance the art of studio photography. Whether capturing intimate boudoir portraits or high-fashion editorials, the studio provides a controlled environment with various lighting options, including softboxes, LED panels, and strobes. Utilizing such a space allows photographers to refine their lighting techniques and achieve stunning, high-quality images highlighting every detail and emotion.
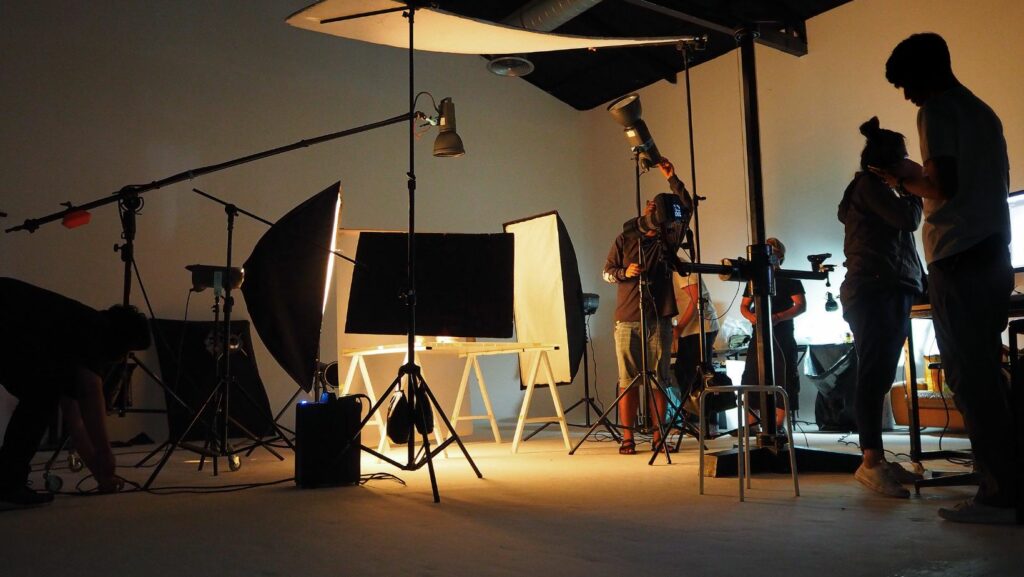
Setting Up Your Studio Lighting
 Creating the perfect studio lighting setup is a fundamental step in translating an artistic vision into a photographic reality. This process involves selecting the appropriate types of lights and determining their optimal placement to achieve the desired effect on the subject. Establishing a well-planned lighting setup not only accentuates features and sets the mood but also plays a pivotal role in controlling shadows, highlighting textures, and adding depth to photographs. For photographers aiming to master studio lighting photography, understanding the essential equipment and their strategic arrangement is crucial.
Types of Studio Lights
Photographers have access to a variety of studio lights, each serving a specific purpose:
-
Key lights act as the primary light source, illuminating the main subject.
-
Fill lights help minimize shadows created by the key light, ensuring even lighting.
-
Backlights separate the subject from the background, enhancing depth.
-
Continuous lights, like LED panels, offer a constant light source, ideal for previewing how the light falls on the subject.
-
Flash or strobe lights provide a powerful burst of light, useful in capturing fast-moving subjects.
-
Modifiers such as softboxes and umbrellas soften and diffuse the light, reducing harshness and shadows.
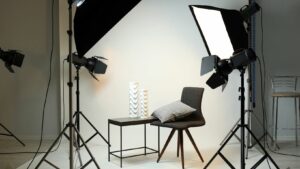
Placement of Lights
The placement of lights is equally important as the choice of lighting. Proper positioning ensures a balanced composition where light and shadow harmoniously coexist to reveal textures, emphasize colors, and add dimension. Achieving this balance involves experimenting with the angle and distance of the lights from the subject. Using key, fill, and backlights effectively requires placing the key light at a 45-degree angle to the subject to sculpt the face or object, situating the fill light on the opposite side to soften shadows, and positioning the backlight behind the subject to delineate it from the backdrop. Through meticulous arrangement, studio lighting photography excels in transforming ordinary shots into extraordinary masterpieces.